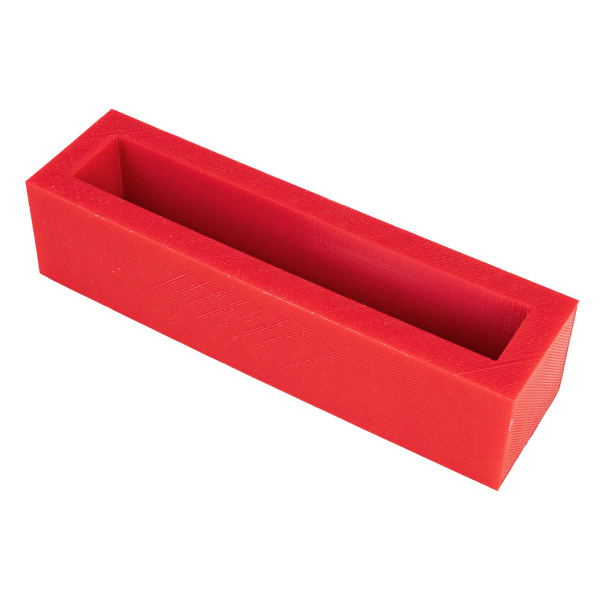
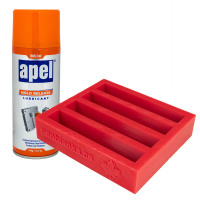
William Wood-Write 1-blank casting mold
Cast your own custom pen blanks with this silicone casting mold made in Canada by William Wood-Write. Designed to produce one blank at a time, this mold is ideal for creating Fusion/hybrid blanks or full resin blanks with consistent sizing and clean results.
The flexible silicone construction makes demolding easy while maintaining the shape and detail of your castings. Whether you’re experimenting with colours, embedding materials, or stabilizing wood, this mold gives you a reliable setup for repeatable results.
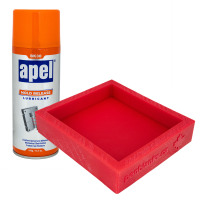
What are the overall dimensions of the mold?
The mold measures approximately 1-5/8" x 6-7/16" (41.3 mm × 163.5 mm) overall.
What size blanks does this mold produce?
This mold produces a blank approximately 7/8" square by 5-1/4" long (22.2 mm × 22.2 mm × 133.4 mm) — slightly oversized to allow for trimming and squaring before turning.
What can I use this mold for?
This mold is ideal for casting:
- Fusion hybrid pen blanks (wood + resin)
- Full resin pen blanks
- Creative embedded materials like coffee beans, pigments, or inlay elements
How to pour resin for casting in easy steps
If creating fusion/hybrid blanks, start at step 1. If you're only working with resin, start at step 2.
-
Place the wood in the mold
Position your wood securely inside the mold. If it's loose or wobbly, use wedges like popsicle sticks to hold it in place.
-
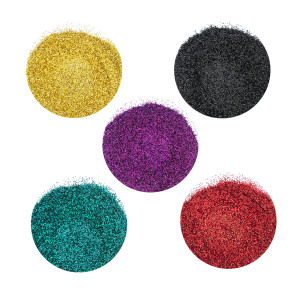
Pick your pigment
Choose the colour pigment you'd like to use—this is where you can get creative!
-
Prepare your scale
Have a digital scale ready. You'll need it to accurately measure your resin components.
-
Measure the resin
All resins come in two parts: Part A and Part B.
Important: Some resins are mixed by weight, others by volume. Also, the ratio can vary (e.g., 1:1 or 2:1). Always read the instructions on your specific resin to ensure accurate mixing. Working times will also differ.
-
Add your pigment and mix thoroughly
Once you've measured your resin, mix in your colour. If you're using a powder pigment, be sure there are no clumps. Stir your resin and pigment combination thoroughly. Make sure the colour is fully blended for an even, vibrant result.
-
Pour the resin
Carefully pour the resin into the mold, covering the wood completely.
-
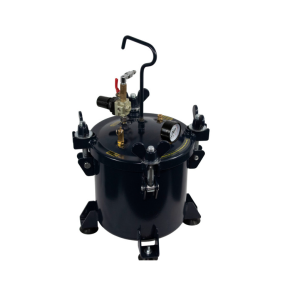
Use a pressure pot
Place the mold in a pressure pot to minimize bubbles and ensure a smooth finish. Let the resin sit in the pressure pot for about 4 hours, or as directed by your resin manufacturer.
-
Demold when ready
Follow the curing time in the instructions. Once it's fully set, remove the casting from the mold—and you’re ready for the next step!
Price per mold in Canadian dollars.
 English
 Français