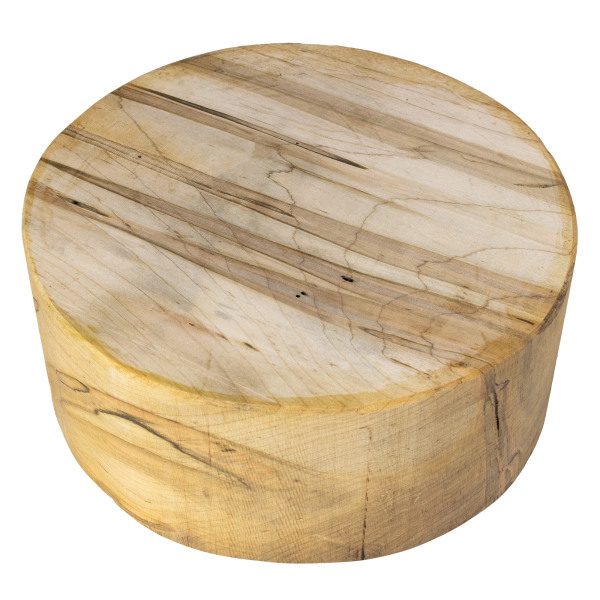
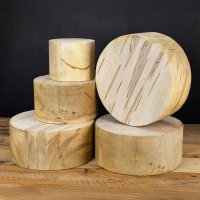
Turn something unique with a round Wormy Maple bowl blank, cut to approximately 4" thick. Also known as Ambrosia Maple, this wood features dramatic streaks and colour variations caused by ambrosia beetles, giving each piece a one-of-a-kind look.
What is the diameter of these blanks?
The blanks measure approximately 4" thick (± 1/4"). Please select your preferred diameter from the drop-down menu above. The picture is a representative sample. Your blanks will be selected at random and may vary slightly in appearance.
Two fun facts about Wormy Maple:
Nature’s artwork: The striking streaks and discolouration are the result of ambrosia beetles boring into the wood. These natural markings make every blank a one-of-a-kind canvas.
Strength with character: Despite its “wormy” appearance, Ambrosia Maple retains the strength and durability of maple, making it a reliable hardwood for turning projects with added visual flair.
I'm new to bowl turning - how do I make a bowl?
Making a bowl on a lathe may look complicated, but the basic process to get you from blank to bowl is surprisingly simple:
Bowl blank → Shape the outside → Hollow the inside → Sand → Apply a finish → Complete the bottom
Start with a bowl blank: A bowl blank is a piece of wood cut to a size and shape suitable for turning. The blank you choose will help determine the size and style of your finished bowl.
Shape the outside: Mount the blank securely on the lathe, turn it round and shape the outside profile. This is where you decide whether your bowl will be wide or narrow, deep or shallow, gently curved or more angular.
Hollow the inside: Turn the bowl around and gradually remove wood from the centre to create the inside. As the bowl takes shape, aim for smooth curves and an even wall thickness.
Sand: Sand the bowl using progressively finer grits of sandpaper to remove tool marks and create a smooth surface.
Apply a finish: Apply a finish to protect the wood and bring out its natural colour and grain. Choose a finish that is suitable for how the bowl will be used.
Complete the bottom: Turn the bowl around one final time to remove the mounting point and shape and sand the base.
That’s bowl turning at its simplest. As your skills grow, you can experiment with different woods, shapes, sizes and decorative details to create bowls that are uniquely your own. We also have a short hand-out under the "documents" tab that you can download.
 English
 Français