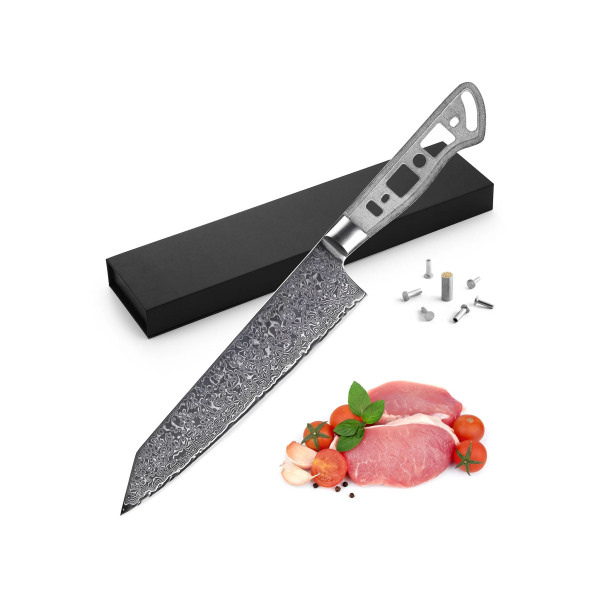
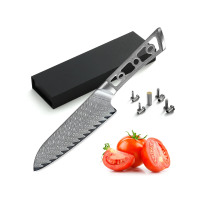
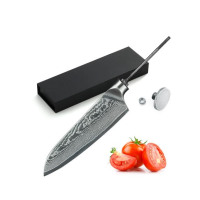
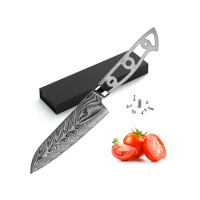
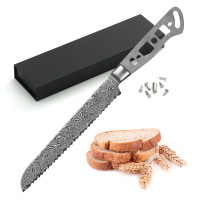
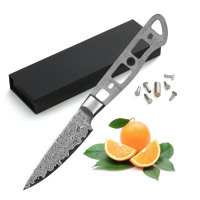
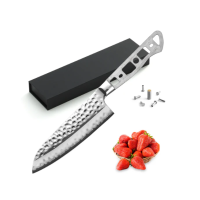
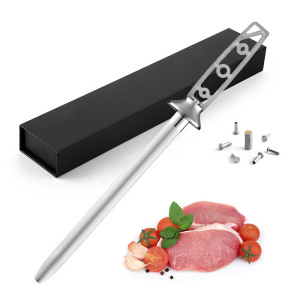
Full-tang 8" Katsura Kiritsuke Damascus culinary blade
Craft a premium, high-performance chef’s knife with this full-tang 8" Katsura Kiritsuke Damascus blade. Built with a Japanese AUS-10 steel core and reinforced with 66 layers of folded Damascus steel, this blade offers exceptional sharpness, strength, and long-lasting edge retention with an HRC 60+ hardness. The Kiritsuke profile gives you a precise, agile blade suited to both slicing and detailed prep work.
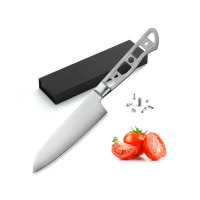
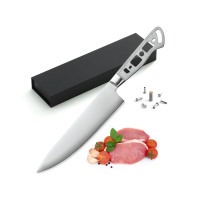
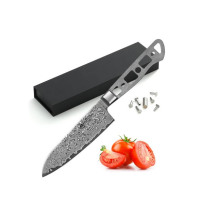
What is included in the kit? This kit includes the blade, three sets of metal pins, a mosaic centre pin, and a presentation box. This is a knife-making project; you will not receive a finished knife.
What is the steel of the blade? The blade is crafted by folding 66 layers of Japanese Damascus steel over a Japanese AUS-10 high-carbon cutting core. This construction delivers a razor-sharp edge, excellent durability, and HRC 60+ hardness.
What is the size and tang of the blade? The cutting edge measures 8", with an overall length of 13.25". This is a full-tang blade, offering maximum strength, stability, and balance. Net weight is approximately 5.9 oz.
What is a Kiritsuke blade used for? The Kiritsuke is a versatile Japanese chef’s knife designed for slicing, chopping, and precision cuts. Its long, razor-sharp edge makes it ideal for fine cuts in vegetables, meats, and general prep work.
Price per blade in Canadian dollars.
****
Making a knife handle in easy steps:
1. Trace the knife tang
Lay the knife tang (the unsharpened part of the knife that reaches into the handle) flat on one wood piece. Trace its outline. Repeat for the second piece.
2. Cut out the handle shape
Use a saw to cut just outside the traced lines on both pieces.
3. Mark inside and outside
Label the outside face of each handle piece (the visible side). Label the inside face (the side that touches the tang).
4. Sand the inside faces
Lightly sand the inside faces of both pieces for a better adhesive bond.
5. Mark and drill rivet holes (if using them)
Stick the two handle pieces together with double-sided tape. Place the tang on top and trace rivet hole positions. Drill using the right drill bit for your rivets:
· Use a countersink bit for flat-head pins.
· No countersink for mosaic pins.
6. Prep the knife tang and apply adhesive
Separate the handle pieces. Sand and clean the tang (use acetone if needed). Spread epoxy or glue on both sides of the knife tang and on the inside faces of your handle pieces.
7. Attach and clamp
Press the handle pieces onto the tang. Make sure inside/outside faces are correct and edges align with the tang profile. Clamp lightly and let the adhesive set.
8. Insert rivets (optional)
While clamping, insert rivets through the drilled holes. Tap in with a hammer or punches for a tight fit. Note: Mosaic pins don’t need pressing — just insert them in place.
9. Shape, sand and finish your handle
Now it's time to let your creativity shine! Shape and sand your handle to meet the edges of the knife hardware. This may take a while depending on how closely you cut your handle material to your traced lines - and how complex you decide to make your handle shape. Apply a finish of your choice.
 English
 Français